0
 (0)
(0)

 Choose up to 2 free samples

Discover brand
Item no. 1254900
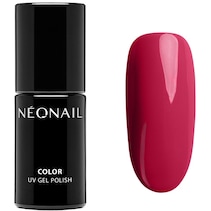
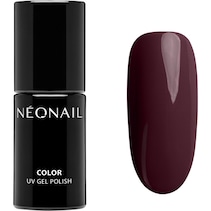
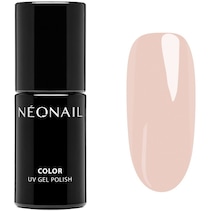
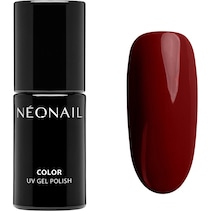
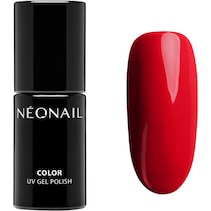
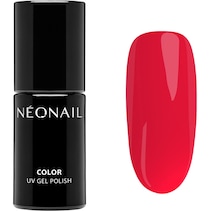
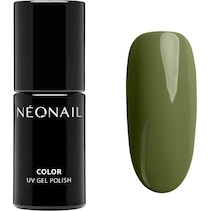
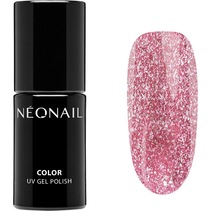
NEONAIL Mrs. Bella Pastel Vibes
Colour UV nail polish
Item available for immediate delivery, in stock
Item no.
oder direkt mit
Our Highlights
- Expected Delivery with DHLTue 10/02 to Thu 12/02
- Free Return ShippingUp to 180 days
- Free shipping
- Payment methods
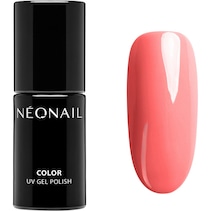
They bring carefree summer feelings: Mrs Bella Pastel Vibes is a collection that stems from a collaboration between NEONAIL and the popular influencer. The colour UV nail polish is in pastel shades that radiate the special moods of the warm season. They convey impressions ranging from the sensual scent of flowers and clear expanses to freshness and exuberance and the lightness of savouring relaxed moments. In the summer months, Mrs Bella Pastel Vibes simply always fit, in the cold season they keep memories alive and brighten up dull days.
Creative make-up addition in expressive pastel colours
Let yourself be seduced by your favourite colour or opt for several of the pastel shades at once, as they can be wonderfully combined with each other. Each NEONAIL Color UV nail polish in the Mrs. Bella Pastel Vibes collection exudes its very own summery mood in a muted yet rich colour. You can also create a creative and varied make-up look by giving each nail on your hand a different shade and continuing the good mood with your pedicure. As different as the appealing pastel colours are, the durability and resistance of the UV nail polish, which hardens quickly under the LED lamp, is just as impressive. Simply follow the instructions to emphasise the beauty of your nails with a summery look.Description
Colour UV nail polishRange
Mrs. Bella Pastel VibesProduct sub-line
Mrs. Bella CollectionsCharacteristics
long-lastingProduct type
bottle, pen with sponge applicatorArea of application
nails
Apply:
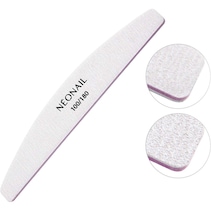
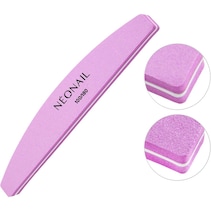
Step 1: The natural nail is prepared by gently pushing back the cuticle with a rosewood stick. The natural nail is then gently matted with the polishing file. Any nail dust is removed with a cellular tissue soaked in cleaner.
Step 2: A thin layer of primer is then applied.
Step 3: The base coat is applied to the nail in a thin layer and cured using the LED lamp.
Step 4: A thin layer of the desired colour is then applied and cured under the LED lamp. A second thin layer of colour is then applied and also cured. Darker colours may require a longer curing time.
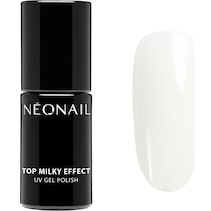
Step 5: The top coat is now applied to seal the coloured lacquer. After curing under the LED lamp, remove the colour perspiration layer with the cleaner.
Step 6: Finally, nail oil can be applied.
It is important to note: Before use, it is advised to roll the UV nail polish back and forth between your hands. With each coat, make sure that the tip of the nail is sufficiently coated.
Removal:
Step 1: The sealing layer is carefully roughened with a nail file.
Step 2: Soak the nail foil wraps in acetone and wrap them tightly around the fingernail. Leave on for about 10 minutes.
Step 3: The UV nail polish is gently removed with a rosewood stick without applying excessive pressure. If the polish is not yet completely removed from the fingernail, steps 2 & 3 can be repeated.
ACRYLATES COPOLYMER, ISOPROPYL ALCOHOL, BUTYL ACETATE, DIMETHICONE, MICROCRYSTALLINE WAX, TRIMETHYLBENZOYL DIPHENYLPHOSPHINE OXIDE, P-HYDROXYANISOLE, HYDROQUINONE, +/- CI 77891, CI 77491, CI 77492, CI 77007, CI 77266, CI 73360, CI 15880.
For commercial use only. Please read the application instructions carefully. Avoid contact with skin. Avoid contact with eyes. Product may cause an allergic reaction. Stop applying if irritation occurs. Keep out of reach of children.
- Protect from sunlight.
- Cosmo Group Sp. z o. o.
- ul. Jasielska 10A, PL-60-476 Poznań
- kontakt@neonail.de
Our customers say about Mrs. Bella Pastel Vibes
0,0
 (0)
Customer ratings

Filter
*contains reviews from the international parfumdreams shops. Reviews are not checked for authenticity
Our recommendations for you
You might also be interested in


