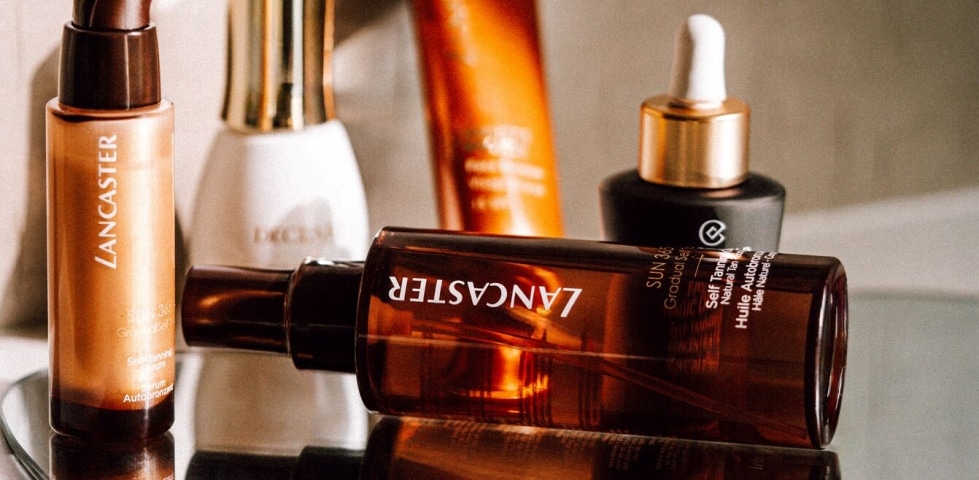
How to apply self-tanner – what you should know
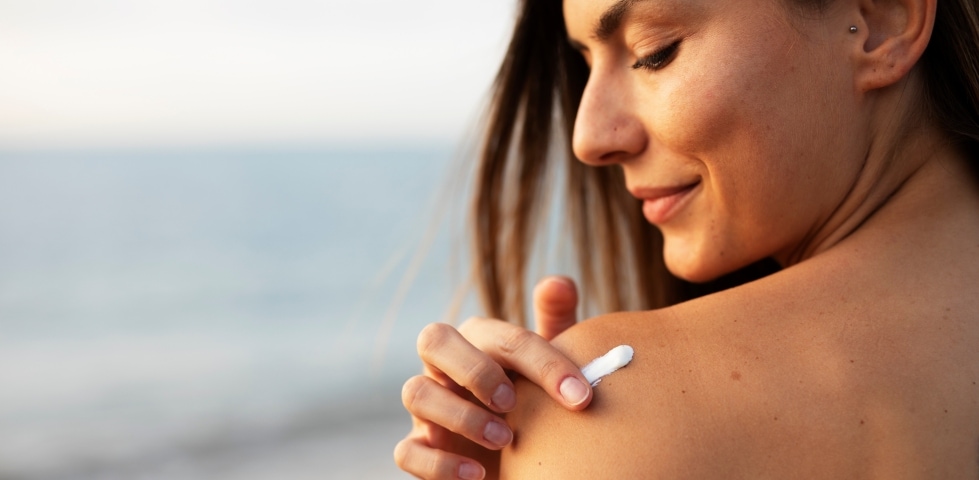
A beautiful summer tan, all year round, without any harmful sun rays – this is the dream of many who want to give their skin tone some extra wow factor. Self-tanner, also known as self-tan, can help. Find out here what you should bear in mind when it comes to how to apply self-tanner and how to use it correctly.
08 April 2025 • 4 min. reading time
Table of contents
How does self-tanner work?
To find out which self-tanner is best for you, it is important to understand how self-tanners work in the first place. The products contain a special substance called DHA (docosahexaenoic acid), which is an omega-3 fatty acid. This fatty acid reacts with the protein building blocks in your skin, particularly in the tough outer layer, and gives it a dark tan.
Is self-tanner dangerous?
This reaction can produce small amounts of formaldehyde, which is responsible for most allergic reactions in cosmetic products. Formaldehyde is also present in small quantities in the air we breathe and is classified as carcinogenic. Formaldehyde is harmless in small quantities. The small amount of formaldehyde produced by the reaction of commercially available self-tanning products is not a problem.
Lots of products to choose from – which self-tanner is right for me?
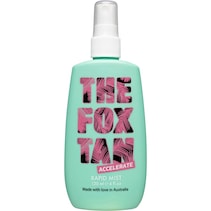
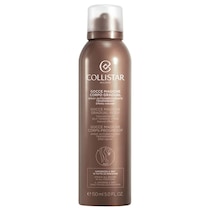
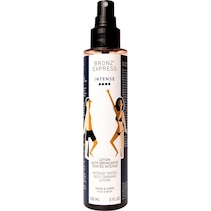
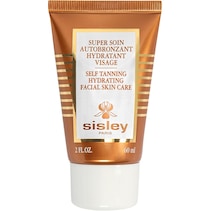
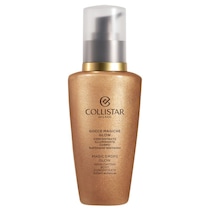
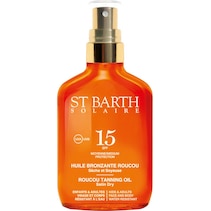
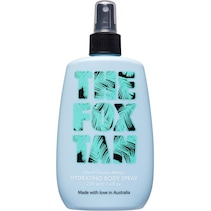
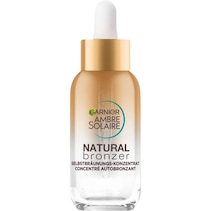
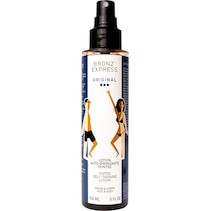
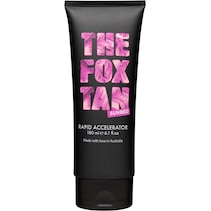
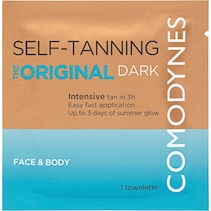
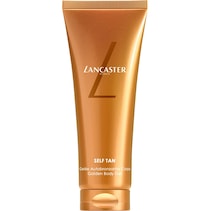
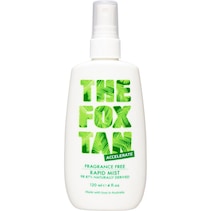
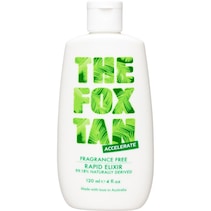
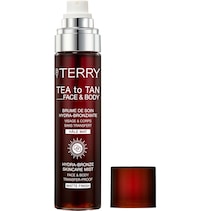
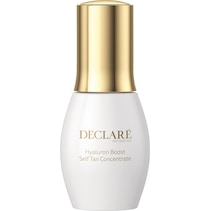
There are different types of self-tanners, all of which have their advantages and disadvantages. For beginners, it is advisable to choose a light body lotion with a tanning effect or tanning spray, as these are usually easy to work in with your hands. There are also special self-tanning creams that can be washed off immediately after the next shower and therefore do not have a particularly long application time. There are also self-tanning wipes, where the product is in the wipe itself and you simply work it directly into the skin like a wet wipe or makeup remover wipe. The best self-tanning products are those that come in mousse form from a bottle or tin and promise a long-lasting result of up to a week. However, it is precisely these products that most frequently cause accidents and undesirable results if they are not applied correctly. Last but not least, there is something called self-tanning concentrate, just a few drops of which are mixed in with your own cream or lotion. The advantage here is the optimum dosage, which you can adjust to suit you and your creams or lotions. In the end, you should find out for yourself which self-tanner is best suited to your body.
Self-tanner
Self-tanner
How should I bets prepare my skin for self-tanner?
The right preparation is the be-all and end-all for an optimal self-tanning result. Please note that everyone’s skin is different and you should find your own individual routine for preparing your skin. It is best to start preparing the day before up to 24 hours in advance so that your skin can recover in the meantime.
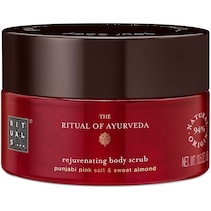
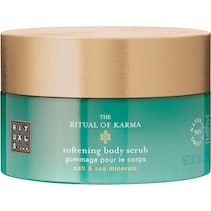
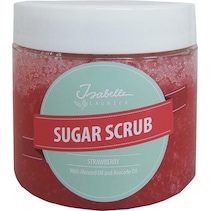
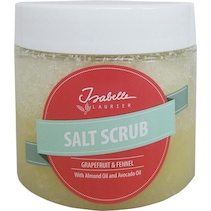
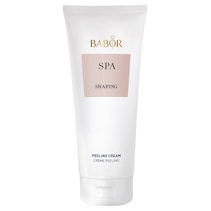
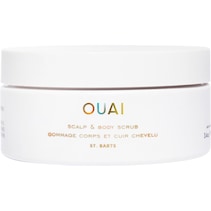
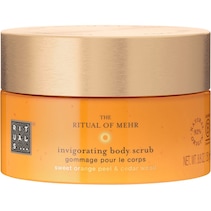
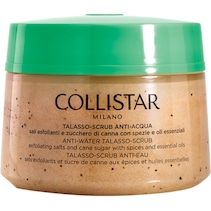
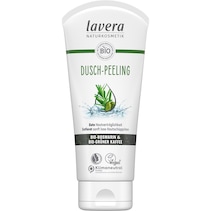
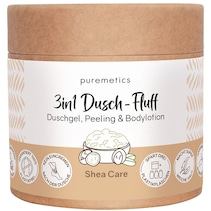
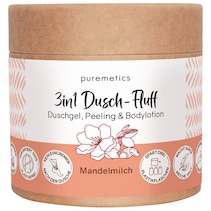
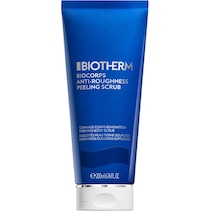
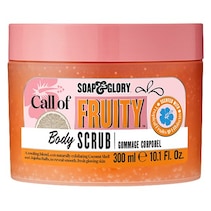
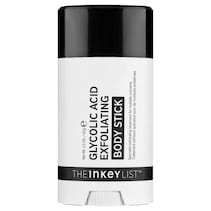
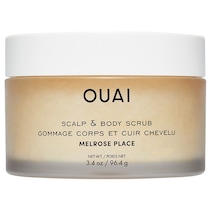
Start with a peel to carefully remove dead skin cells and shave the areas you want to tan with self-tanner beforehand. Immediately before application, treat all dry skin on your body, usually elbows, knees, ankles, hands, etc. with a cream or lotion, as the self-tanner particularly clings to these areas and can lead to patches. Some people prefer oil instead of creams if their skin is particularly dry.
Body scrubs
Body scrubs
How to apply self-tanner
Self-tanning products with a mousse consistency in particular can be tricky to use. With the right basic knowledge, you don’t need to worry.
Do I need a glove to apply self-tanner?
You should definitely use a glove to apply the self-tanner correctly. Firstly, this will prevent your hands from tanning unintentionally and unevenly and, secondly, it will make it easier for you to apply the product evenly directly to the skin.
Tips and tricks for applying self-tanner
It is better to start with smaller portions on the glove and work the product into your skin in circular movements. The advantage of mousse self-tanners is that you can immediately recognise small effects such as streaks or spots during application and can touch them up straight away.
Ideally, you should work your way up your body from the bottom up – meaning you start with the tops of your feet or legs and then work your way up your body parts one by one. You can also work from the outside in by tanning your arms and legs first and then your stomach and back. This method prevents you from getting wrinkles from bending over or stretching during application.
When can I wash off the self-tanner?
Depending on the manufacturer, the recommended application time should be shown directly on the packaging. As some self-tanners have a strong odour due to the chemical ingredients, you can apply it in the evening and leave it on overnight if it bothers you. Immediately after application, wait a few minutes for the self-tanner to dry completely. You can then put on dark or loose clothing to prevent the product from rubbing off onto textiles.
After the recommended application time, gently wash off the residual product in the shower. Don’t worry about the colour running off in the water, as the self-tanner has already taken full effect. This also means that you should not be afraid to use shower gel or soap. However, you should avoid long bubble baths or rough scrubs immediately after application. For an extra glow to your tan, you can use a rich body lotion or oils after your shower. Now nothing will stand in the way of a fresh summer tan.
Removing self-tanner – getting rid of patches
If something does go wrong because the skin has not been prepared correctly or you have overlooked one or two strips when applying the self-tanner, you have the following options for removing the self-tanner:
Takeaway
Self-tanners are the ideal alternative to harmful UV rays from the sun. For beginners, it is worth trying out a tanning spray or a tanning lotion, as they are usually less complicated to use. If you are hoping for long-lasting results, it is better to use a self-tanner with a mousse consistency. These self-tanners require good preparation of your skin with exfoliation, moisturising and recovery time. When applying, you should not rush and work the product into the skin in circular motions. If you do notice one or two areas that you are unhappy with, you can touch them up with lemon, bubble baths or peels. For an additional glow, use a rich oil or body lotion at the end of your application. With these tips and tricks for applying self-tanner, nothing stands in the way of a radiant summer tan.


