Item no. 1234633
NEONAIL Artificial nails & nail design
3D Nail Art Decoration
 Expected Delivery with DHLWed 15/07 to Fri 17/07
 Free Return ShippingUp to 180 days
 Free shipping
 Payment methods


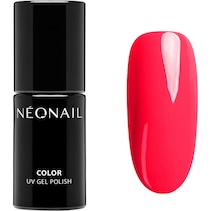
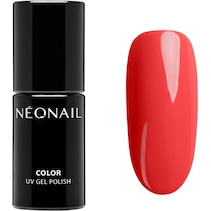
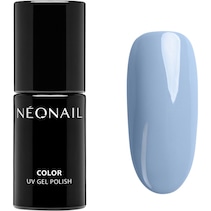
With the NEONAIL 3D Nail Art Decoration Set Rhinestones, the exciting world of endless oceans will accompany you every day from now on - always clearly visible directly on your nails. The "Jewels of the Sea" artificial nails & nail design set is inspired by the glittering, shimmering and colourful underwater world to create an inspiring finish with an eye-catching effect. The Strass Stone Set of the NEONAIL 3D Nail Art Decoration can be wonderfully combined with the brand's new summer nail polishes - which are available in a coral pink, oceanic blue and mystical purple colour, for example. Variety is also guaranteed thanks to the many different stones.
Colourful artificial nails & nail design set
The rhinestones included in the NEONAIL 3D Nail Art Decoration Set not only sparkle spectacularly in the sun, they also come in a wide variety of shapes and colours. They are always colourful, and they inevitably create a real highlight on the hands or feet. The bright colours of the artificial nails & nail design set are also slightly translucent, which means they absorb the light even better and shine in an almost magical way. The rhinestones can be combined with UV gels and are simply placed individually on the sweat layer. How you arrange the colourful stones is entirely up to your creativity.
Description
3D Nail Art DecorationRange
Artificial nails & nail designProduct sub-line
NailsArea of application
nailsFinish
radiant
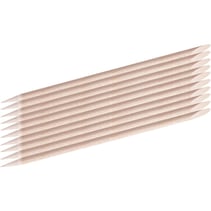
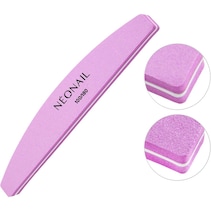
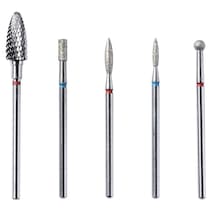
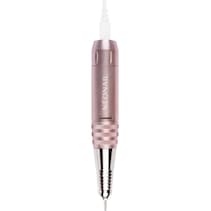
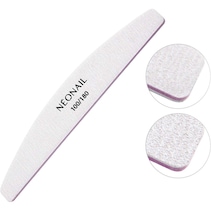
Step 1: Shape the nails with a 100/180 grit file. Then carefully remove the cuticles with a rosewood stick by gently pushing them back.
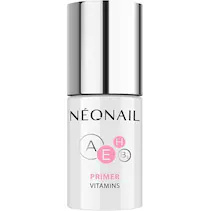
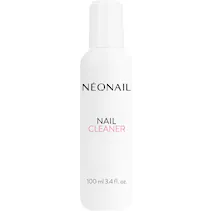
Step 2: Then matt the nail surface with a polishing file or buffer. Remove the resulting nail dust with a cellular tissue soaked in cleaner. If necessary, a thin layer of the primer can be used to degrease the nails.
Step 3: Apply a thin layer of the base and cure it under a UV/LED lamp according to the table. The nails are not cleaned afterwards.
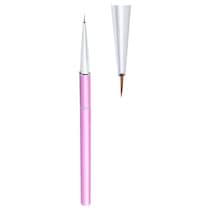
Step 4: Apply a thin layer of the UV nail polish colour and cure it under the UV/LED lamp according to the table. Repeat the process with a second thin coat. The nail is not cleaned in this step either.
Step 5: Now seal the UV manicure with a top coat and cure under the UV/LED lamp according to the table. Note: After curing the UV nail polish, it may be necessary, depending on the top used, to remove the layer of perspiration with a cellular tissue soaked in cleaner.
Step 6: A nail oil should be used daily for additional care.
- Cosmo Group Sp. z o. o.
- ul. Jasielska 10A, PL-60-476 Poznań
- kontakt@neonail.de