Discover brand
Item no. 699826
NEONAIL Artificial nails & nail design
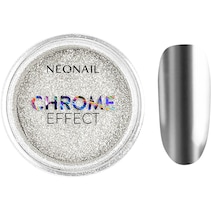
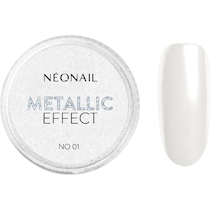
Pearl Effect Powder
oder direkt mit
Our Highlights
 Expected Delivery with DHLTue 21/07 to Thu 23/07
 Free Return ShippingUp to 180 days
 Free shipping
 Payment methods


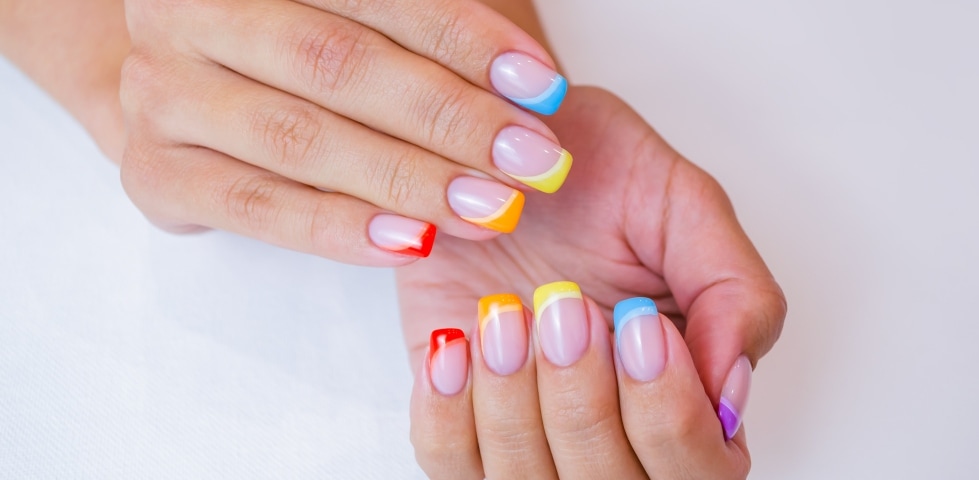
Pearl effect with a pearly shimmer or glazed donut effect, the extra shiny finish: Both are possible with Pearl Effect Powder. The powder is part of the "Artificial Nails & Nail Design" line from the popular NEONAIL brand, which offers a wide range of shades and extraordinary colour effects for nails. Pearl Effect Powder is a trendy, stylish variant of the range that conjures up the perfect finish.
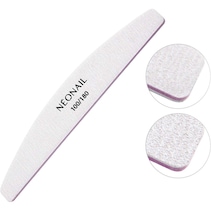
Artificial nails & nail design with extra-fine powder
The Pearl Effect powder in the jar is very fine, making it easy to apply and spread. You use it in combination with your favourite NEONAIL colour, which also determines the result: On light shades, the powder creates a pearly, nuanced result; on darker shades, the effect is more metallic and shiny. You have further flexibility in the styles by the way you apply the powder. If you add a layer of powder to the UV lacquer's sweat layer, you create the promising pearl effect, while the glazed donut effect is achieved by applying it to the dry top coat, which has only just hardened. The effect powder therefore offers plenty of scope as an expression of your individual appearance to give your nails a precious finish, completely customised to your personal preferences and styling.Description
Pearl Effect PowderRange
Artificial nails & nail designProduct sub-line
NailsConsistency
powderProduct type
tinArea of application
nails
Step by step instructions:
Metallic Pearl Effect
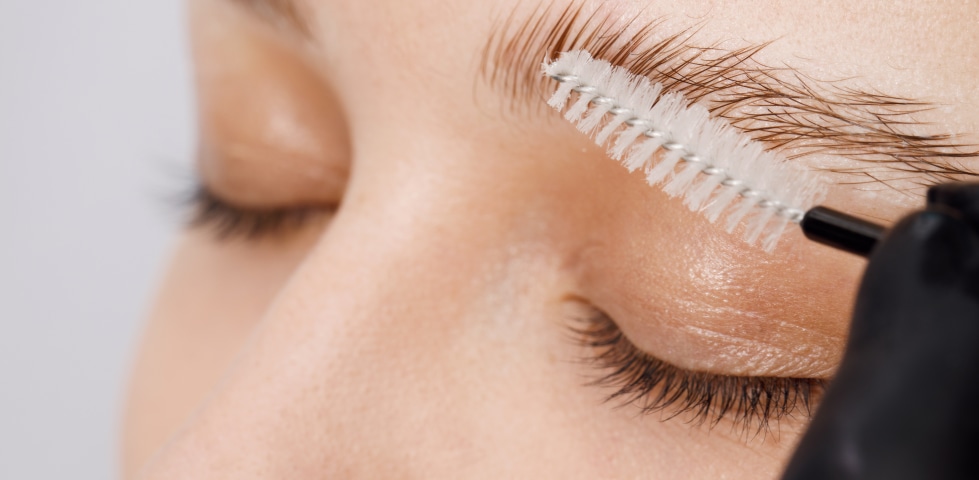
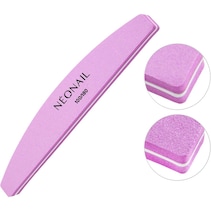
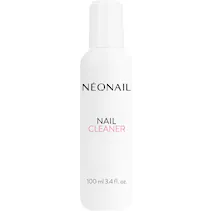
Step 1: The nails are carefully matted with a buffer to create an even surface. The resulting dust is removed and the nails are thoroughly cleaned with a nail cleaner.
Step 2: A thin layer of base coat is applied and cured under an LED lamp.
Step 3: A layer of the desired colour is applied to the nails and also cured under an LED lamp. This step can be repeated if necessary to achieve a more intense result.
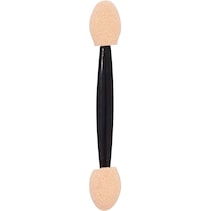
Step 4: The powder is gently worked into the sweat layer and excess powder is removed with a soft brush.
Step 5: Finally, a layer of top coat is applied to achieve a glossy effect and increase durability.
Step 6: The nails are then cleaned with a nail cleaner.
Glazed donut effect
Step 1: The nails are carefully matted with a buffer to create an even surface. The resulting dust is removed and the nails are thoroughly cleaned with a nail cleaner.
Step 2: A thin layer of base coat is applied and cured under an LED lamp.
Step 3: A layer of the desired colour is applied to the nails and also cured under an LED lamp. This step can be repeated if necessary to achieve a more intense result.
Step 4: A layer of Dry Top Coat is applied and cured for just 10 seconds under an LED lamp. The powder is then rubbed onto the nail with an applicator and any excess powder is removed with a clean brush.
Step 5: Another layer of top coat is applied to create a glossy effect and increase durability. This layer is cured under an LED lamp. Finally, the nails are cleaned with a nail cleaner.
Metallic Pearl Effect
Step 1: The nails are carefully matted with a buffer to create an even surface. The resulting dust is removed and the nails are thoroughly cleaned with a nail cleaner.
Step 2: A thin layer of base coat is applied and cured under an LED lamp.
Step 3: A layer of the desired colour is applied to the nails and also cured under an LED lamp. This step can be repeated if necessary to achieve a more intense result.
Step 4: The powder is gently worked into the sweat layer and excess powder is removed with a soft brush.
Step 5: Finally, a layer of top coat is applied to achieve a glossy effect and increase durability.
Step 6: The nails are then cleaned with a nail cleaner.
Glazed donut effect
Step 1: The nails are carefully matted with a buffer to create an even surface. The resulting dust is removed and the nails are thoroughly cleaned with a nail cleaner.
Step 2: A thin layer of base coat is applied and cured under an LED lamp.
Step 3: A layer of the desired colour is applied to the nails and also cured under an LED lamp. This step can be repeated if necessary to achieve a more intense result.
Step 4: A layer of Dry Top Coat is applied and cured for just 10 seconds under an LED lamp. The powder is then rubbed onto the nail with an applicator and any excess powder is removed with a clean brush.
Step 5: Another layer of top coat is applied to create a glossy effect and increase durability. This layer is cured under an LED lamp. Finally, the nails are cleaned with a nail cleaner.
Polyethylene Terephthalate.
For professional use only. Read instructions for use carefully. Avoid skin contact. Avoid contact with eyes. May cause allergic reactions. Discontinue use if irritation occurs. Keep out of the reach of children.
- Protect from sunlight.
- Cosmo Group Sp. z o. o.
- ul. Jasielska 10A, PL-60-476 Poznań
- kontakt@neonail.de
Write the first review for Artificial nails & nail design
Our recommendations for you

You might also be interested in