Dermaplaning – face razor and peel in one
Who doesn’t want glowing smooth skin? The dermaplaning beauty trend can bring you closer to your goal. The skin is freed from the finest hairs and dead skin flakes with the help of a sharp blade. We explain to you how it works and what you should watch out for.
19 February 2024 • 4 min. reading time
Table of contents
What is dermaplaning?
Dermaplaning denotes the removal of fine hairs and skin flakes with a sharp blade – it is also a continuation of the face razor for women. The trend originally comes from Asia and is meanwhile offered in beauty salons in Europe as well. Anyone who trusts themselves to use the sharp blade can of course also carry out the procedure on their own.
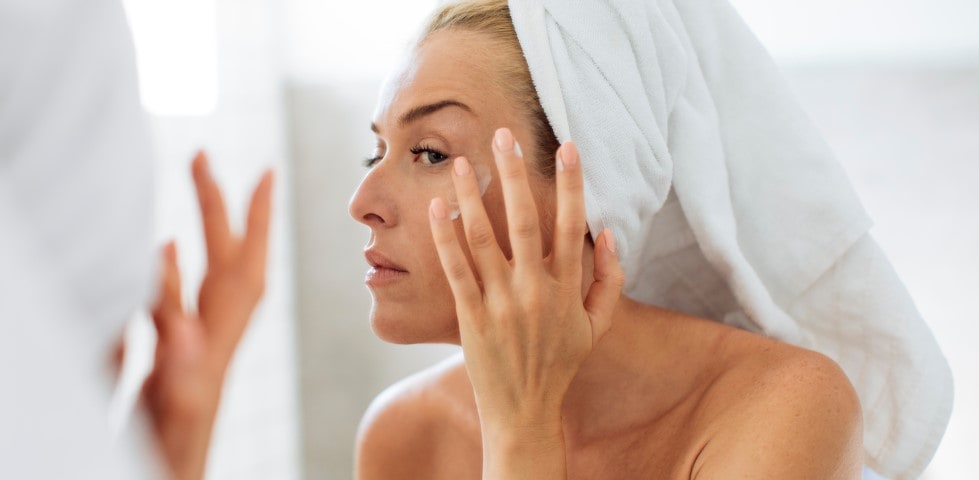
Unlike a simple face razor, the removal of hair is not the only thing in focus here. Another desired effect is the removal of dead skin flakes, which can make the skin tone look pale. This peel effect makes make-up look especially even and strengthens your natural glow.
Dermaplaning – pros and cons
Like every beauty trend, dermaplaning not only has upsides but also downsides. To find out if the procedure can be something for you, you should be familiar with the pros and cons.
Dermaplaning pros
- Hairless face: You can quickly miss hairs with tweezers. With dermaplaning, facial hairs are thoroughly removed with the sharp blade.
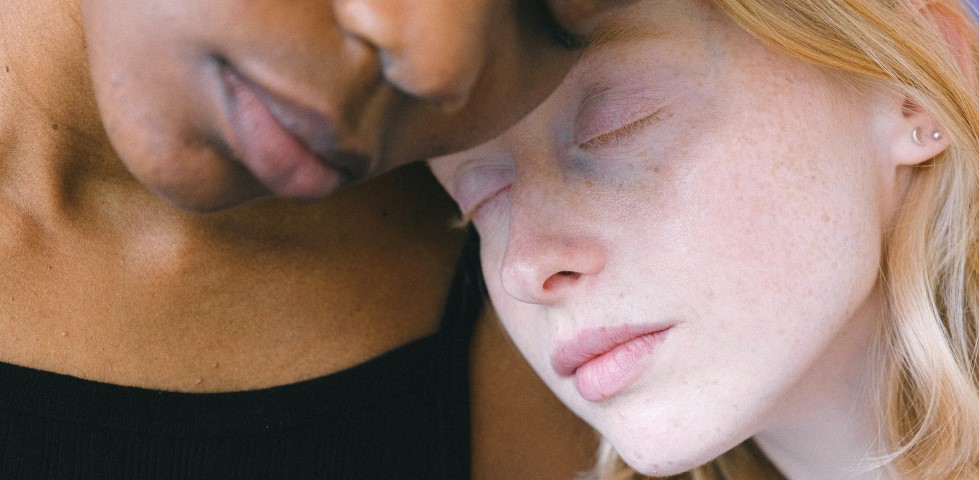
- Filter effect: By removing hairs and skin flakes, your make-up looks especially even. In addition, light is reflected better on the skin, making it more glowy with a natural filter effect.
- Painless treatment: Time-consuming, painful plucking of hairs on areas like the upper lip and chin becomes unnecessary.
- Peel effect: The skin is freed from dead skin flakes and is more radiant.
- Intensive skincare: The actives in your skincare products can penetrate better and take effect more reliably.
- Instant effect: The skin looks smoother and more radiant straight after the treatment.
Dermaplaning cons
To find out whether dermaplaning could be something for you, you should also consider the potential downsides.
- Cutting hazard: The right technique requires practice. If you position the razor at the wrong angle, you can easily cut yourself.
- Sensitivity: Dermaplaning is not suitable for all skin types. If you have very sensitive skin or active acne and inflammation, you should avoid dermaplaning. Dermaplaning can irritate the skin and make it even more sensitive.
- Sun sensitivity: After a dermaplaning treatment, you should take particular care to use adequate sun protection.
How dermaplaning works – step by step
To achieve a smooth and cut-free result, you should first inform yourself about the right products and right technique for dermaplaning.
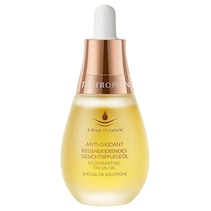
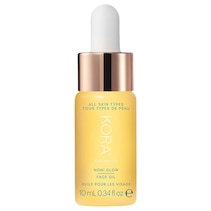
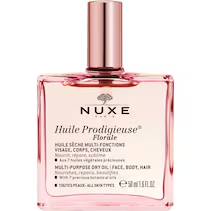
The right oil
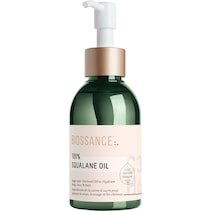
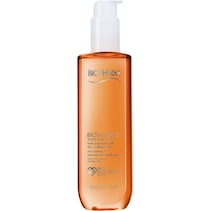
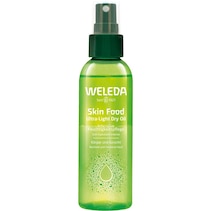
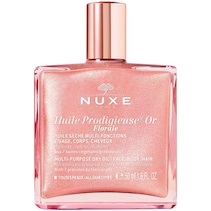
To create a smooth surface over which the blade can glide smoothly, you should use an oil. It does not have to be an expensive oil, as you will remove it at the end in any case. So just be sure that you tolerate it well. Examples of well-tolerated and affordable facial oils are include:
- calendula oil
- almond oil
- squalane
Facial oils for dermaplaning
Facial oils for dermaplaning


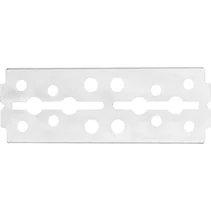
The right razor
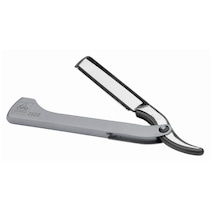
You can choose from a variety of razors for dermaplaning. Traditionally, dermaplaning is done with a straight razor. However, these are now also available in smaller sizes. This makes it easier for you to maintain full control even in difficult-to-reach places like between the eyebrows. You can even shave your whole face with special eyebrow razors. Take care, however, to use these only once, as they usually become blunt very quickly.
It is not possible to perform dermaplaning with a regular razor. It is harder to reach delicate areas and you have less control over the result. In addition, commercial safety razors are designed so that the blade never glides as close to your skin as with a straight razor. This means the smoothing peel effect for which dermaplaning is known is reduced.
Razor for dermaplaning
Step 1: The preparation
Begin with a cleansed face. If you wear make-up, first remove it with your usual make-up removal routine. Then apply a facial oil generously. It serves, on the one hand, as a protective barrier between your skin and the blade. In addition, the blade glides more easily over the skin, which prevents wounds from cuts.
Tip
Also, if a shaving foam is manufactured for the purpose of shaving, you should not use it for dermaplaning. The reason is that the white foam makes it impossible to see your skin. This means you might accidentally shave over places that you wanted to avoid. This could be the case, for example, if you have an inflamed spot. In addition, shaving accidents occur more quickly in places like the hairline and eyebrows, which you would like to leave out. An oil or oil cleanser has the benefit of you always being able to see your skin and its texture.
Step 2: The razor
When you carry out dermaplaning for the first time, you should start in a simple place. The cheeks are well-suited for this because here you have a large surface with few complicated angles. Position the straight razor at an angle of around 45 degrees and stretch your skin with your free hand. Now glide the razor gently over the skin.
When you have got used to the right way of holding the straight razor, you can approach more difficult areas – for example, the upper lip. Try out which way of holding the razor is easiest for you. You can pull your mouth, for example, to one side or the other, thus stretching the skin over the lips. This creates a smoother surface that is easier to shave. The chin should remain as relaxed as possible when shaving so you don’t create any creases.
After the cheeks, temples, upper lip and chin, move on to the area around the eyebrows: pay special attention here and take plenty of time to avoid shaving accidents. It is best to restrict the dermaplaning in this area to the area between and over the eyebrows. If you would like to get rid of unwanted hair below the eyebrows, you should continue to use tweezers. These enable a more precise result and are the safer tool on the delicate skin around the eyes.
Important: Always disinfect the blade before and after use. In this way, you avoid the occurrence of impurities or inflammation.
Step 3: The skincare
After dermaplaning, your skin needs a great deal of skincare. Shaving not only removes fine hairs and dead skin flakes but also the protective acid mantle of the skin. In addition, your skin can react with slight reddening to the mechanical irritation.
Moisturising and soothing products with hyaluronic acid and niacinamide can help with this. Use a serum first – it is full of nourishing actives and has a pleasant cooling texture at the same time. To finish, you should use a moisturising cream. In the following days, take special care to protect your skin from sunlight and use a high SPF sunscreen.
FAQ – Dermaplaning
Takeaway
The dermaplaning trend can also be done at home at little expense. Once you’ve got used to handling the straight razor, the process is quick and simple. The pros decisively outweigh the cons: smooth, glowier skin and a more intensive nourishing effect speak for themselves and make dermaplaning a trend that will last a long time.