NEONAILSuperpowersColour UV nail polish


in stock
Item no.
or directly with
Our Highlights
 Expected Delivery with DHLThu 30/07 to Sat 01/08
 Free Return ShippingUp to 180 days
 Free shipping
 Payment methods


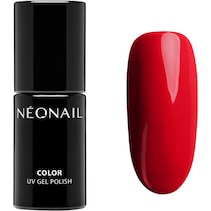
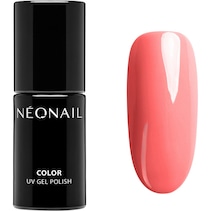
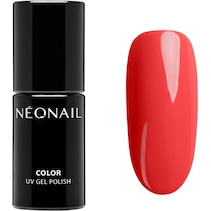
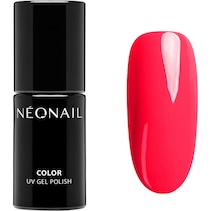
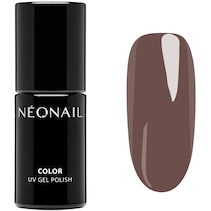
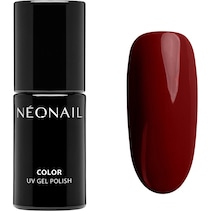
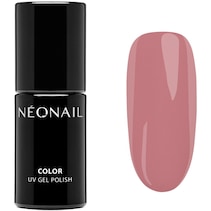
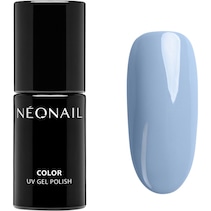
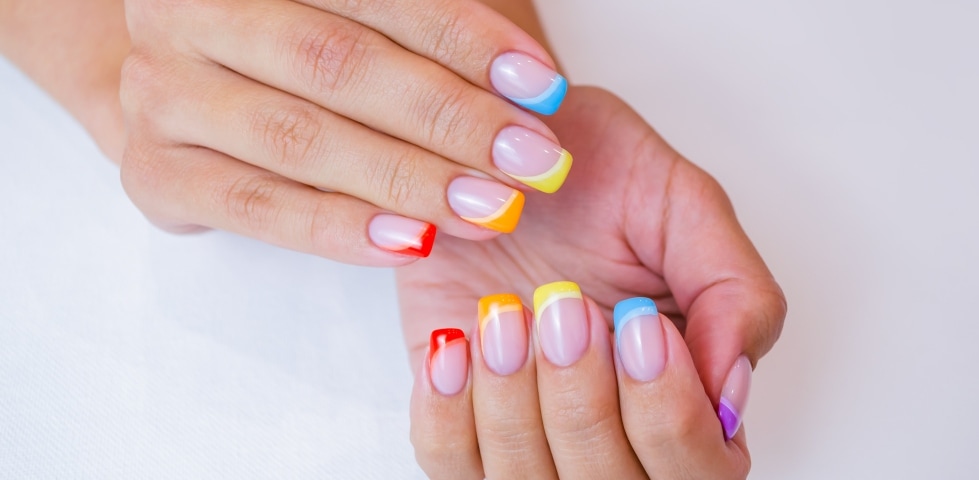
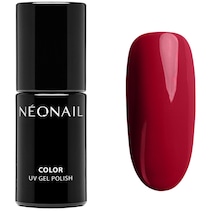
The modern Color UV nail polish from the cosmetics company NEONAIL, known for its high-quality nail care, is fascinating in many colours, such as the Superpowers collection. With this line, you can choose between five different, intensely vibrant colours. In addition to a dark blue and light pink, the shades grey, red and green are also included. These colourful UV nail polishes have the beautiful names Be Helpful, Born Proud, Brave Everyday, Dream Life and Hot Me. In any case, they are the perfect complement to professional make-up with eyeshadow and lipstick.
Colour UV nail polish Superpowers from NEONAIL - luxurious make-up for gorgeous fingernails
The nail polishes in the Superpowers collection can be cured effortlessly at home with an LED or UV lamp on the fingernails. The result of the manicure looks just like in a nail salon because the quality of the nail polish from NEONAIL is unrivalled. Once you have chosen a colour that matches your make-up, it is best to start by thoroughly cleaning your fingernails. Preparation also includes applying primer and base coat so that the colour UV nail polish lasts particularly long. Once the UV nail polish has hardened, it makes sense to apply a top coat, which should also harden.Description
Colour UV nail polishRange
SuperpowersProduct sub-line
CollectionsCharacteristics
long-lastingProduct type
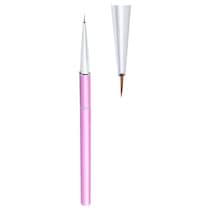
bottle, pen with sponge applicatorArea of application
nails
Step by step instructions:
Application:
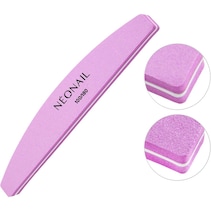
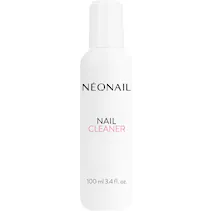
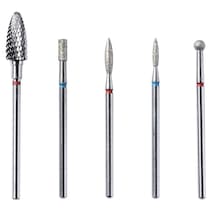
Step 1: The natural nail is prepared by gently pushing back the cuticle with a rosewood stick. Then gently matt the natural nail with the polishing file. Any nail dust is removed with a cellular tissue soaked in cleaner.
Step 2: A thin layer of primer is then applied.
Step 3: The base coat is applied to the nail in a thin layer and cured using the LED lamp.
Step 4: A thin layer of the desired colour is then applied and cured under the LED lamp. A second thin layer of colour is then applied and also cured. Darker colours may require a longer curing time.
Step 5: The top coat is now applied to seal the coloured lacquer. After curing under the LED lamp, remove the colour perspiration layer with the cleaner.
Step 6: Finally, nail oil can be applied.
It is important to note: Before use, it is advised to roll the UV nail polish back and forth between your hands. With each coat, make sure that the tip of the nail is sufficiently coated.
Removal:
Step 1: The sealing layer is carefully roughened with a nail file.
Step 2: Soak the nail foil wraps in acetone and wrap them tightly around the fingernail. Leave on for about 10 minutes.
Step 3: The UV nail polish is gently removed with a rosewood stick without applying excessive pressure. If the polish is not yet completely removed from the fingernail, steps 2 & 3 can be repeated.
Application:
Step 1: The natural nail is prepared by gently pushing back the cuticle with a rosewood stick. Then gently matt the natural nail with the polishing file. Any nail dust is removed with a cellular tissue soaked in cleaner.
Step 2: A thin layer of primer is then applied.
Step 3: The base coat is applied to the nail in a thin layer and cured using the LED lamp.
Step 4: A thin layer of the desired colour is then applied and cured under the LED lamp. A second thin layer of colour is then applied and also cured. Darker colours may require a longer curing time.
Step 5: The top coat is now applied to seal the coloured lacquer. After curing under the LED lamp, remove the colour perspiration layer with the cleaner.
Step 6: Finally, nail oil can be applied.
It is important to note: Before use, it is advised to roll the UV nail polish back and forth between your hands. With each coat, make sure that the tip of the nail is sufficiently coated.
Removal:
Step 1: The sealing layer is carefully roughened with a nail file.
Step 2: Soak the nail foil wraps in acetone and wrap them tightly around the fingernail. Leave on for about 10 minutes.
Step 3: The UV nail polish is gently removed with a rosewood stick without applying excessive pressure. If the polish is not yet completely removed from the fingernail, steps 2 & 3 can be repeated.
Acrylates copolymer, Isopropyl alcohol, Butyl acetate, Dimethicone, Microcrystalline wax, Mica, Trimethylbenzoyl diphenylphosphine oxide, P-hydroxyanisole, Hydroquinone, +/- ci 77491, ci 77891, ci 77007, ci 77492, ci 77266Hydroxypropyl methacrylate, Dipentaerythritol hexaacrylate, HEMA, Hydroxycyclohexyl phenyl ketone, Trimethylolpropane triacrylate, Glass, Bis-trimethylbenzoyl phenylphosphine oxide, Silver, Tin oxide, +/- CI 15800, CI 60725, CI 15880, CI 77510, CI 11710, CI 77891, CI 77266, CI 61565, CI 12085, CI 17200 Di-hema trimethylhexyl dicarbamate, Hema, Hydroxycyclohexyl phenyl ketone, Bis-trimethylbenzoyl phenylphosphine oxide, P-hydroxyanisole, +/- ci 15850, ci 77499, ci 77492, ci 77510, ci 77742, ci 77891, ci 77289, ci 17200, ci 77007, ci 15985, ci 77491.
For commercial use only. Please read the application instructions carefully. Avoid contact with skin. Avoid contact with eyes. Product may cause an allergic reaction. Stop applying if irritation occurs. Keep out of reach of children.
- Protect from sunlight.
- Cosmo Group Sp. z o. o.
- ul. Jasielska 10A, PL-60-480 Poznań
- kontakt@neonail.de
Write the first review for Superpowers
Our recommendations for you


You might also be interested in