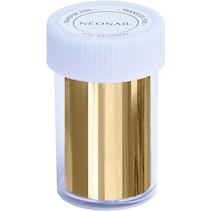
NEONAIL Artificial nails & nail design Stamping gel
Empfehlungen
Filter
*contains reviews from the international parfumdreams shops. Reviews are not checked for authenticity
Product information
Description
Stamping gel,
Range
Artificial nails & nail design
Product sub-line
Nails
Product type
bottle
Area of application
nails
Opacity
strong
Use
Step by Step - Stamp instructions
1. prepare your natural nail and carefully remove the cuticle with a rosewood stick by pushing it back. Then carefully matt the natural nail with the buffer. Remove the resulting nail dust with a cotton pad soaked in cleaner.
2. then apply a thin layer of Hard Base and cure it under the UV/LED lamp according to the table.
3. then apply a thin layer of the desired UV nail polish colour and cure it under the UV/LED lamp according to the table. Then apply a second thin layer of the UV nail polish colour and cure this under the UV/LED lamp according to the table. Please note that darker colours require a longer curing time.
Important: Wipe off the sweat layer with a cell tissue soaked in cleaner.
4. to avoid touching your cuticles with UV nail polish, you can apply the NEONAIL peel-off gum up to the cuticle and remove it again once the UV manicure is complete. The Peel Off Rubber dries in just 3 minutes and forms a firm layer around the finger.
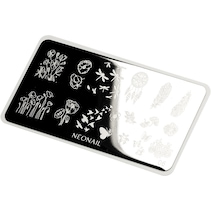
5. now apply a small amount of stamping gel to the selected motif on the stamping plate. Take the stamping scraper and pull the stamping gel over the motif, removing excess colour at the same time.
Important: Just make sure that the base UV nail polish and the stamping gel are different colours.
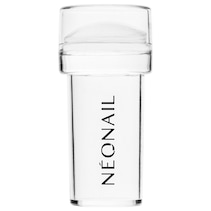
6. take the nail stamp acetone and place it on the outer edge of the motif and roll the stamp over the motif with a flowing movement.
7. now roll the motif on the nail stamp over your nails and let the motif harden under the UV/LED lamp according to the table.
8. seal the design with a hard top and also cure it under the UV/LED lamp according to the table. Wipe off the sweaty layer with a cellular tissue soaked in nail cleaner.
9. remove the peel-off rubber from your cuticles.
10. clean the stamp with the stamping sticker and squeeze out the remains of the stamping gel. The stamping plate and the scraper can be cleaned with cleaner.
Important: Do not use any cleaner or acetone to clean the stamp so that the surface is not damaged.
Contents
Ingredients: Acrylates Copolymer, HEMA, Trimethylbenzoyl Diphenylphosphine Oxide, Silica Dimethyl Silylate, Hydroquinone, p-Hydroxyanisole, +/- CI 77891, CI 77266, CI 18965, CI 15510, CI 73360, CI 73385, CI 74160, CI 74260, CI 77000, CI 77492, CI 45405, CI 45350.
Warnings
For professional use only. Read instructions for use carefully. Avoid skin contact. Avoid contact with eyes. May cause allergic reactions. Discontinue use if irritation occurs. Keep out of the reach of children.
Protect from sunlight.
Manufacturer
You might also be interested in