Collections by NEONAIL
(30 Item)- Collections
- Baby Boomer
- Bloomy Vibes
- Bridal
- Candy Girl
- Dreamy Shades
- Enjoy Yourself
- Fall in Colors
- Fall in Love
- Grunge
- Lady in Red
- Let's Make Memories
- Midnight Match
- Milady
- Nude Stories
- Paradise
- Pastel Romance
- Plant Base Wonder
- Pure Love
- Save the Date
- Superpowers
- The Muse in You
- Think Blink!
- Top Milky Effect
- Unwritten Canvas
- Warming Memories
- Wild Sides of You
- Mrs. Bella Collections
- Expert
- Nails
- Brush
- Gel stickers
- Electrical appliances
- Gift sets
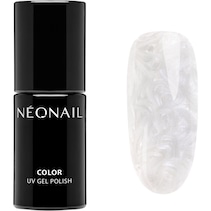
NEONAIL
Bridal
Collections
Colour UV nail polish
Limited Edition

11.95 € 10.76 €
- 9.32 €
- 8.39 €
- 11.95 €
- 10.76 €
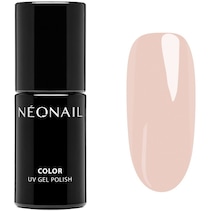
NEONAIL
Unwritten Canvas
Collections
Colour UV gel nail polish

11.95 € 10.76 €
- 9.32 €
- 8.39 €
- 11.95 €
- 10.76 €
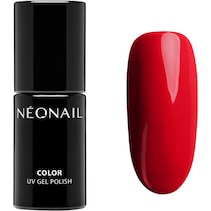
NEONAIL
Lady in Red
Collections
Colour UV nail polish

11.95 € 10.76 €
- 9.32 €
- 8.39 €
- 11.95 €
- 10.76 €
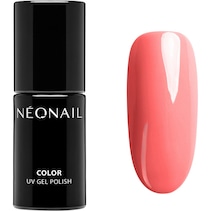
NEONAIL
Pure Love
Collections
Colour UV nail polish

11.95 € 10.76 €
- 9.32 €
- 8.39 €
- 11.95 €
- 10.76 €
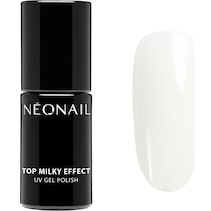
NEONAIL
Top Milky Effect
Collections
Top Milky Effect UV Nail Polish

11.95 € 10.76 €
- 9.32 €
- 8.39 €
- 11.95 €
- 10.76 €
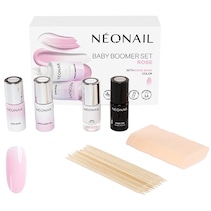
NEONAIL
Baby Boomer
Collections
Baby Boomer Set - Rose

29.95 € 26.96 €
- 23.36 €
- 21.02 €
- 29.95 €
- 26.96 €
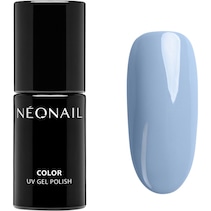
NEONAIL
Bloomy Vibes
Collections
Colour UV nail polish

11.95 € 10.76 €
- 9.32 €
- 8.39 €
- 11.95 €
- 10.76 €
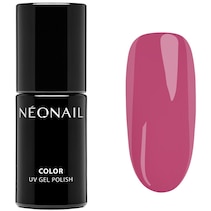
NEONAIL
Let's Make Memories
Collections
UV gel nail polish

10.95 € 9.86 €
- 8.54 €
- 7.69 €
- 10.95 €
- 9.86 €
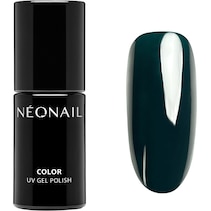
NEONAIL
Midnight Match
Collections
Colour UV nail polish
Winter Collection 2022

10.95 € 9.86 €
- 8.54 €
- 7.69 €
- 10.95 €
- 9.86 €

NEONAIL
Nude Stories
Collections
Colour UV nail polish

11.95 € 10.76 €
- 9.32 €
- 8.39 €
- 11.95 €
- 10.76 €
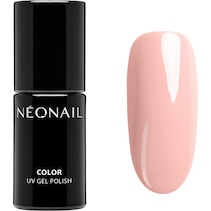
NEONAIL
Milady
Collections
Colour UV nail polish

11.95 € 10.76 €
- 9.32 €
- 8.39 €
- 11.95 €
- 10.76 €
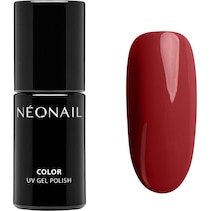
NEONAIL
Fall in Colors
Collections
Colour UV nail polish

11.95 € 10.76 €
- 9.32 €
- 8.39 €
- 11.95 €
- 10.76 €
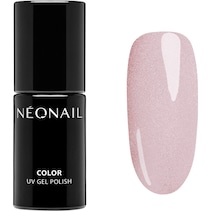
NEONAIL
Save the Date
Collections
Colour UV nail polish

11.95 € 10.76 €
- 9.32 €
- 8.39 €
- 11.95 €
- 10.76 €
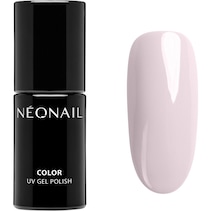
NEONAIL
Wild Sides of You
Collections
Colour UV nail polish

11.95 € 10.76 €
- 9.32 €
- 8.39 €
- 11.95 €
- 10.76 €
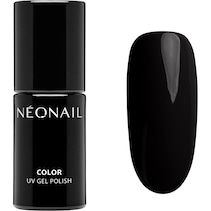
NEONAIL
Grunge
Collections
Colour UV nail polish

11.95 € 10.76 €
- 9.32 €
- 8.39 €
- 11.95 €
- 10.76 €
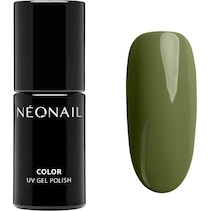
NEONAIL
Fall in Love
Collections
Colour UV nail polish

11.95 € 10.76 €
- 9.32 €
- 8.39 €
- 11.95 €
- 10.76 €
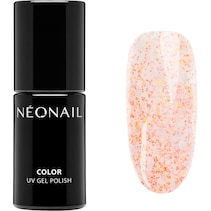
NEONAIL
The Muse in You
Collections
Colour UV nail polish

10.95 € 9.86 €
- 8.54 €
- 7.69 €
- 10.95 €
- 9.86 €
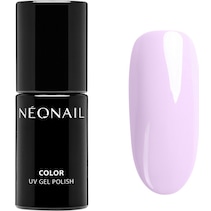
NEONAIL
Pastel Romance
Collections
Colour UV nail polish

11.95 € 10.76 €
- 9.32 €
- 8.39 €
- 11.95 €
- 10.76 €
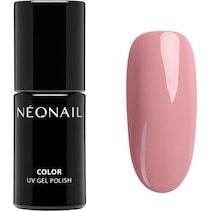
NEONAIL
Warming Memories
Collections
Colour UV nail polish

11.95 € 10.76 €
- 9.32 €
- 8.39 €
- 11.95 €
- 10.76 €
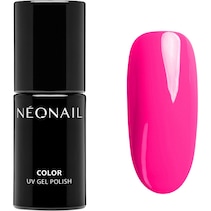
NEONAIL
Candy Girl
Collections
Colour UV nail polish

11.95 € 10.76 €
- 9.32 €
- 8.39 €
- 11.95 €
- 10.76 €
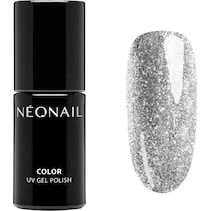
NEONAIL
Think Blink!
Collections
Colour UV nail polish

11.95 € 10.76 €
- 9.32 €
- 8.39 €
- 11.95 €
- 10.76 €
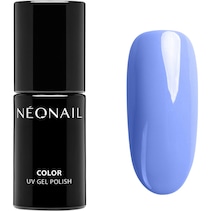
NEONAIL
Dreamy Shades
Collections
Colour UV nail polish

11.95 € 10.76 €
- 9.32 €
- 8.39 €
- 11.95 €
- 10.76 €
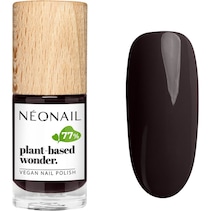
NEONAIL
Plant Base Wonder
Collections
Nail varnish

7.95 € 7.16 €
- 6.20 €
- 5.58 €
- 7.95 €
- 7.16 €
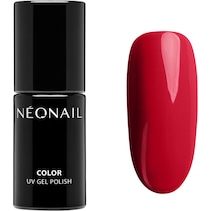
NEONAIL
Superpowers
Collections
Colour UV nail polish

11.95 € 10.76 €
- 9.32 €
- 8.39 €
- 11.95 €
- 10.76 €
NEONAIL
Bridal
Collections
Dot & Brush Duo
Limited Edition

7.95 € 7.16 €
- 6.20 €
- 5.58 €
- 7.95 €
- 7.16 €
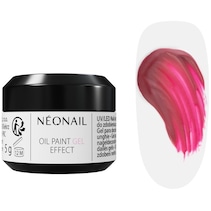
NEONAIL
Unwritten Canvas
Collections
Oil Paint Gel Effect

8.95 € 8.06 €
- 6.98 €
- 6.28 €
- 8.95 €
- 8.06 €
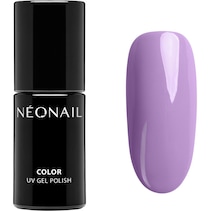
NEONAIL
Dreamy Shades
Collections
Colour UV nail polish

11.95 € 10.76 €
- 9.32 €
- 8.39 €
- 11.95 €
- 10.76 €
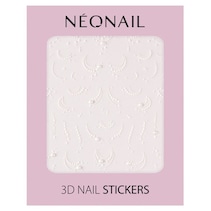
NEONAIL
Bridal
Collections
Pearl Nail 3D Sticker

4.99 € 4.49 €
- 3.89 €
- 3.50 €
- 4.99 €
- 4.49 €
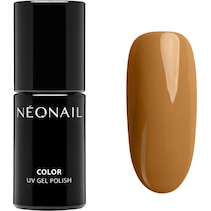
NEONAIL
Enjoy Yourself
Collections
Colour UV nail polish

11.95 € 10.76 €
- 9.32 €
- 8.39 €
- 11.95 €
- 10.76 €
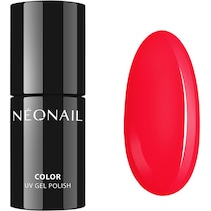
NEONAIL
Paradise
Collections
Colour UV nail polish

11.95 € 10.76 €
- 9.32 €
- 8.39 €
- 11.95 €
- 10.76 €

