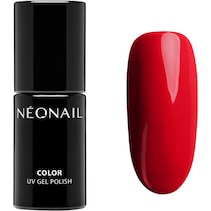
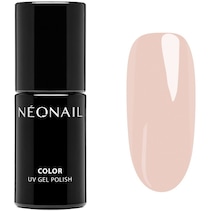
NEONAIL Dreamy Shades
Colour UV nail polish


in stock
Item no.
oder direkt mit
Our Highlights
 Expected Delivery with DHLTue 21/07 to Thu 23/07
 Free Return ShippingUp to 180 days
 Free shipping
 Payment methods


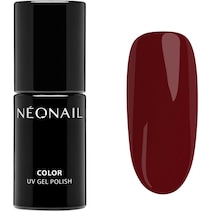
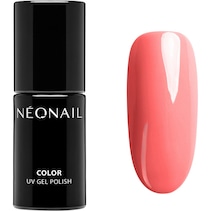
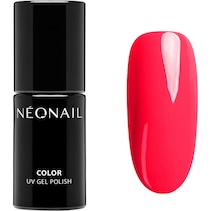
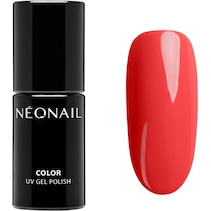
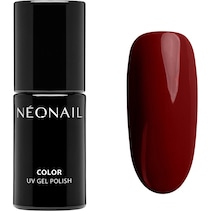
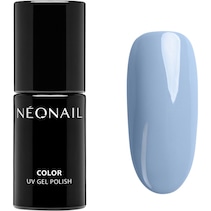
If you like pretty and appealing colours, NEONAIL has a great selection. Dreamy Shades is one of the many colours on offer. This is a colour UV nail polish that lasts particularly long thanks to the special way it is used and is ideal for everyday make-up.
These are the benefits of the nail polish
Anyone using Dreamy Shades for the first time will immediately notice the striking colours. These are eye-catching not only when going out, but also in the office. The colour designers at NEONAIL have used their creativity to the full to develop a colour UV nail polish that meets even the highest demands. Anyone who thought that their make-up could not be improved any further should try this product.Infrequent application saves a lot of time
Many people only use nail polish for special occasions, as it is a little time-consuming. Dreamy Shades can be worn every day because the colour UV nail polish is cured under UV light. Two or at most three coats are applied to a primer and then sealed. At first glance, this may seem a little time-consuming, but NEONAIL make-up only needs to be reapplied every few weeks.Description
Colour UV nail polishRange
Dreamy ShadesProduct sub-line
CollectionsCharacteristics
long-lastingProduct type
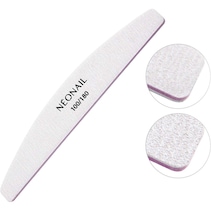
bottle, pen with sponge applicatorArea of application
nails
Step by step instructions:
Application:
Step 1: Prepare the natural nail by carefully pushing back the cuticle with a rosewood stick. Then carefully matt the natural nail with the polishing file. Remove any nail dust with a cellular tissue soaked in cleaner.
Step 2: Now apply a thin layer of primer.
Step 3: The base is then applied in a thin layer and cured under the LED lamp.
Step 4: A thin layer of the desired colour is then applied and cured under the LED lamp. Then apply a second thin layer of the colour and allow this to cure as well. Please note that darker colours require a longer curing time!
Step 5: Now apply the top coat to seal the coloured lacquer. Allow to cure under the LED lamp, then remove the sweat layer with the cleaner.
Step 6: Finally, a nail oil can be applied for additional care.
Please note: Before use, roll the UV nail polish back and forth between your hands. The nail tip must be well coated with all layers.
Removal:
Step 1: Carefully roughen the sealing layer with a nail file.
Step 2: Soak the nail foil wraps in acetone and wrap them tightly around the fingernail. Leave on for approx. 10 minutes.
Step 3: Carefully push the UV nail polish off with a rosewood stick without applying too much pressure. If the polish does not come off the fingernail completely, repeat steps 2 & 3! The application time may vary.
Step 4: Gently remove any residue with a polishing file.
DI-HEMA TRIMETHYLHEXYL DICARBAMATE, HEMA, HYDROXYCYCLOHEXYL PHENYL KETONE, BIS-TRIMETHYLBENZOYL PHENYLPHOSPHINE OXIDE, P-HYDROXYANISOLE, +/- CI 15850, CI 77499, CI 77492, CI 77510, CI 77742, CI 77891, CI 77289, CI 17200, CI 77007, CI 15985, CI 77491.
For commercial use only. Please read the application instructions carefully. Avoid contact with skin. Avoid contact with eyes. Product may cause an allergic reaction. Stop applying if irritation occurs. Keep out of reach of children.
- Protect from sunlight.
- Cosmo Group Sp. z o. o.
- ul. Jasielska 10A, PL-60-476 Poznań
- kontakt@neonail.de
Write the first review for Dreamy Shades
Our recommendations for you


You might also be interested in