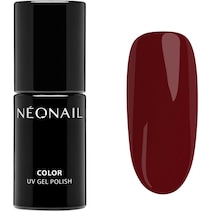
Discover brand
Item no. 775484
NEONAIL Liability and preparation
Wooden sticks
oder direkt mit
Our Highlights
 Expected Delivery with DHLFri 24/07 to Mon 27/07
 Free Return ShippingUp to 180 days
 Free shipping
 Payment methods


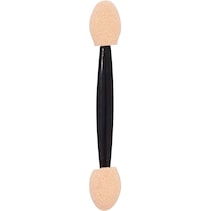
With the wooden sticks from NEONAIL for adhesion and preparation, you are buying high-quality products for professional manicures. The sticks are made of rosewood. One side is sharpened and the other side ends in a bevelled surface. Good to know: As products made from real wood, the sticks are sustainable and 100% biodegradable.
How to use the wooden sticks from NEONAIL for manicure adhesion and preparation
: First wash your hands thoroughly and apply a nail oil to the cuticles to soften them. Now you can use the slanted side of a stick to push back the cuticle. Be sure to proceed gently and carefully. If you discover any dead skin, you can remove it with the pointed side of the wooden stick. You can now trim or polish your fingernails as desired. If you are looking for other products for manicure adhesion and preparation, you will find numerous exciting offers in our shop. You can choose from the Simple Biotin Primer, the Nail Primer Vitamins, the Nail Prep and 12-layered cellular nail polish. Discover your new favourites for your manicure here at Parfumdreams.Description
Wooden sticksRange
Liability and preparationProduct sub-line
Nails
Step by step instructions:
Application:
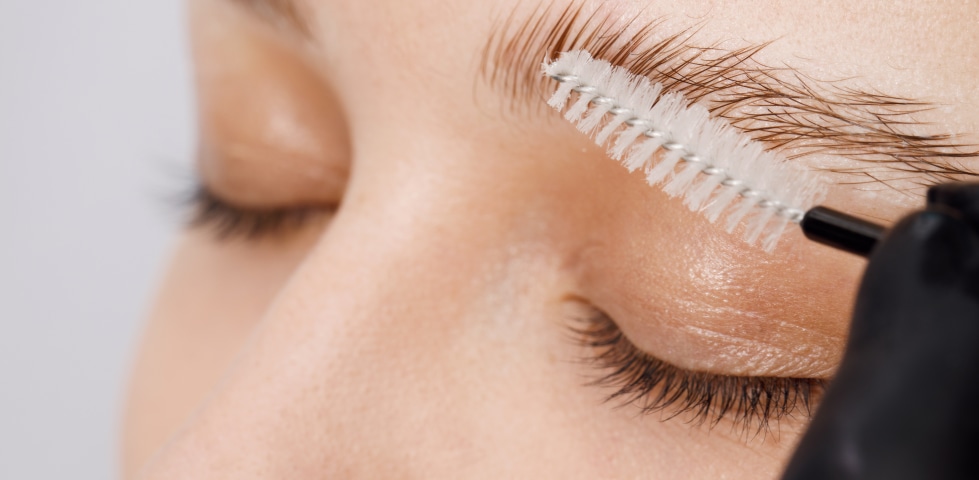
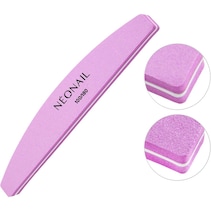
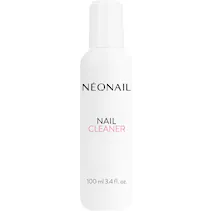
Step 1: The natural nail is prepared by gently pushing back the cuticle with a rosewood stick. Then gently matt the natural nail with the polishing file. Any nail dust is removed with a cellular tissue soaked in cleaner.
Step 2: A thin layer of primer is then applied.
Step 3: The base coat is applied to the nail in a thin layer and cured using the LED lamp.
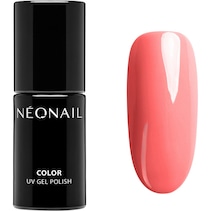
Step 4: A thin layer of the desired colour is then applied and cured under the LED lamp. A second thin layer of colour is then applied and also cured. Darker colours may require a longer curing time.
Step 5: The top coat is now applied to seal the coloured lacquer. After curing under the LED lamp, remove the colour perspiration layer with the cleaner.
Step 6: Finally, nail oil can be applied.
It is important to note: Before use, it is advised to roll the UV nail polish back and forth between your hands. With each coat, make sure that the tip of the nail is sufficiently coated.
Removal:
Step 1: The sealing layer is carefully roughened with a nail file.
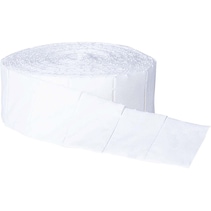
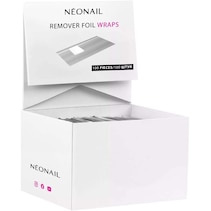
Step 2: Soak the nail foil wraps in acetone and wrap them tightly around the fingernail. Leave on for about 10 minutes.
Step 3: The UV nail polish is gently removed with a rosewood stick without applying excessive pressure. If the polish is not yet completely removed from the fingernail, steps 2 & 3 can be repeated.
Application:
Step 1: The natural nail is prepared by gently pushing back the cuticle with a rosewood stick. Then gently matt the natural nail with the polishing file. Any nail dust is removed with a cellular tissue soaked in cleaner.
Step 2: A thin layer of primer is then applied.
Step 3: The base coat is applied to the nail in a thin layer and cured using the LED lamp.
Step 4: A thin layer of the desired colour is then applied and cured under the LED lamp. A second thin layer of colour is then applied and also cured. Darker colours may require a longer curing time.
Step 5: The top coat is now applied to seal the coloured lacquer. After curing under the LED lamp, remove the colour perspiration layer with the cleaner.
Step 6: Finally, nail oil can be applied.
It is important to note: Before use, it is advised to roll the UV nail polish back and forth between your hands. With each coat, make sure that the tip of the nail is sufficiently coated.
Removal:
Step 1: The sealing layer is carefully roughened with a nail file.
Step 2: Soak the nail foil wraps in acetone and wrap them tightly around the fingernail. Leave on for about 10 minutes.
Step 3: The UV nail polish is gently removed with a rosewood stick without applying excessive pressure. If the polish is not yet completely removed from the fingernail, steps 2 & 3 can be repeated.
For professional use only. Read instructions for use carefully. Avoid skin contact. Avoid contact with eyes. May cause allergic reactions. Discontinue use if irritation occurs. Keep out of the reach of children.
- Protect from sunlight.
- Cosmo Group Sp. z o. o.
- ul. Jasielska 10A, PL-60-476 Poznań
- kontakt@neonail.de
Write the first review for Liability and preparation
Our recommendations for you


You might also be interested in