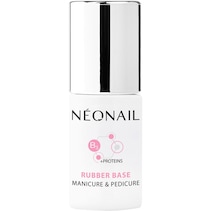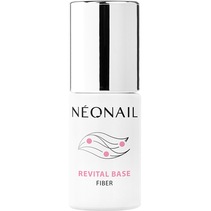
NEONAIL Base Coat Repair Base

7,2 ml
incl. VAT
12.31 €
RRP 13.99 €
 Up to 2 free samples with every package
 Free returns up to 180 days
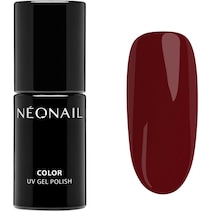
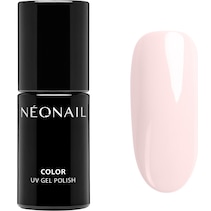
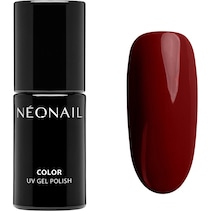
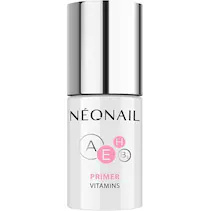
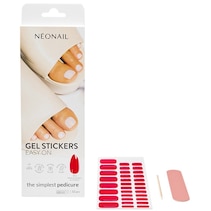
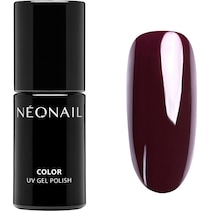

The Repair Base has been developed with the specific needs of thin and brittle nails in mind. This transparent UV base coat features an enriched formula containing valuable ingredients such as keratin, biotin and silicon, as well as vitamins. This composition helps to strengthen the nail plate and protect it from mechanical stress. The consistency is medium to thick, but it has thixotropic properties. This means that the product liquefies as the brush moves and then stabilises again, which helps prevent it from running into the edges. Furthermore, the base self-levels, promoting a smooth surface and helping to visually even out any unevenness. It can be used both as a classic base coat under coloured UV polish and as a stand-alone product for a subtle, natural shine. This product can also be used to achieve a minimal extension of the nail tip. Curing takes place under a suitable UV or LED lamp. To remove the product, it can be filed off or dissolved using a suitable remover.
- Contains keratin, biotin, silicon and vitamins
- Thixotropic formula prevents the product from running into the edges
- Can strengthen and protect the nail plate
- Can be worn as a base coat under coloured polish or on its own
- Self-levelling for a smooth finish
Description
Repair BaseRange
Base CoatProduct sub-line
NailsItem no.
1287082Area of application
nailsCharacteristics
caring, protectiveProduct type
bottle, pen with sponge applicator
Repair base version without coloured UV nail polish:
Step 1: Carefully matt the nail with a polisher, remove any accumulated dust and then rinse with cleaner.
Step 2: First apply Primer* to the prepared nail plate and then a thin layer of Revital Base. Cure the polish under an LED or UV lamp according to the table.
Step 3: Apply a second, slightly thicker coat to the natural fingernail and to a stencil (if nail extension is desired). Cure this under an LED or UV lamp according to the table. Repeat the process to achieve the desired nail structure.
Step 4: After curing, carefully remove the template and smooth the nails with a 180 grit polisher. Remove the accumulated dust and rinse with a cotton pad soaked in cleaner. Step 4: Finally, apply a thin layer of Top Hard and cure under an LED or UV lamp according to the table. After curing, wash off the sticky layer with Cleaner. * A primer suitable for the respective nail plate is recommended.
Repair base version with coloured UV nail polish:
Step 1: Carefully matt the nail with a polisher, remove any accumulated dust and then rinse with cleaner.
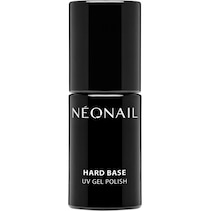
Step 2: Apply Hard Base to the prepared nail plate and then a thin layer of Repair Base. Allow this to harden under an LED or UV lamp according to the table.
Step 3: Apply a second, slightly thicker coat to the natural fingernail and to a template (if nail extension is desired). Cure under an LED or UV lamp according to the table. Repeat the process to achieve the desired nail structure.
Step 4: After curing, carefully remove the template and smooth the nails with a 180 grit polisher. Remove the accumulated dust and rinse with a cotton pad soaked in cleaner. Step 5: Apply a coat of UV nail polish in the desired colour and cure under an LED or UV lamp (the darker the colour, the longer the curing time). Repeat the process to achieve a deeper colour tone. Step 6: Finally, apply a thin layer of Top Hard and cure under an LED or UV lamp according to the table. After curing, wash off the sticky layer with Cleaner. * A primer suitable for the respective nail plate is recommended.
- Protect from sunlight.
- Cosmo Group Sp. z o. o.
- ul. Dojazd 15, PL-62-090 Kiekrz
- kontakt@neonail.de