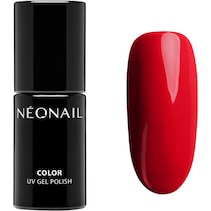
Discover brand
Item no. 83099
NEONAIL Liability and preparation
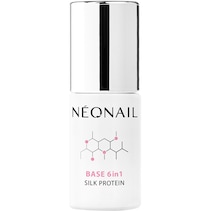
Nail Primer Vitamins
oder direkt mit
Our Highlights
 Expected Delivery with DHLTue 30/06 to Thu 02/07
 Free Return ShippingUp to 180 days
 Free shipping
 Payment methods


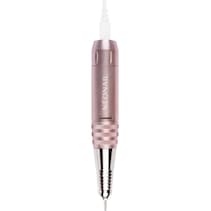
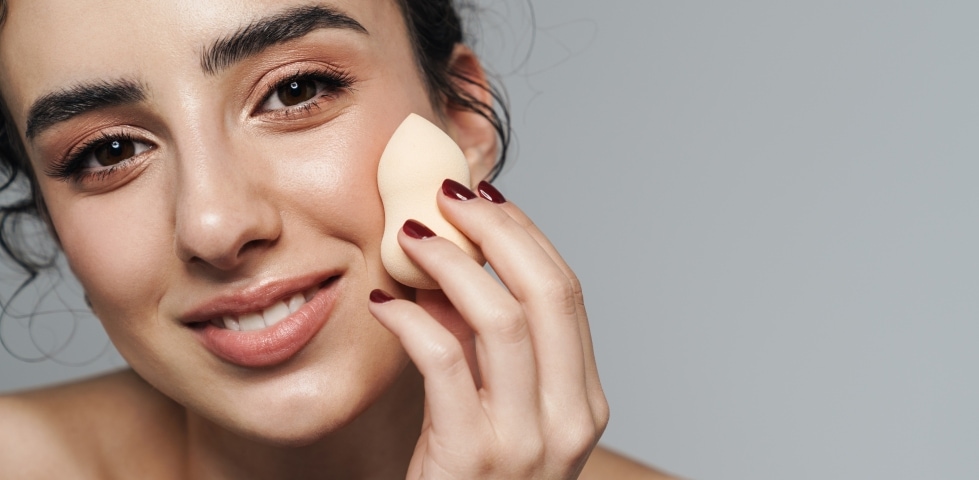
Stunning nail care and beauty has never been easier. This novelty really has it all. When it comes to excitingly beautiful nails, experience has shown that it's not just the look that counts, but also the quality of the products. The innovative Nail Primer Vitamins from NEONAIL is essential to ensure optimum adhesion and easy preparation. The label has always stood for first-class and glamour when it comes to nail care. And with this easy-to-use product from NEONAIL, nails become wonderfully attractive and well-groomed in no time at all.
Thanks to the hand-picked vitamins it contains, Nail Primer Vitamins can justifiably be described as a kind of magical preparation. It clearly stands out from competitor products in terms of adhesion and preparation. This beauty highlight is phthalate-free, contains no pigments or colourants and of course contains no ammonia, acetone or sulphates. The comedogen- and paraffin-free product for adhesion and preparation of the nail treatment comes in an attractively designed bottle. NEONAIL once again sets an excellent example in terms of efficacy, effectiveness and handling. It is therefore worth putting your trust in First quality. What could be more obvious than using Nail Primer Vitamins for adhesion and preparation?
Description
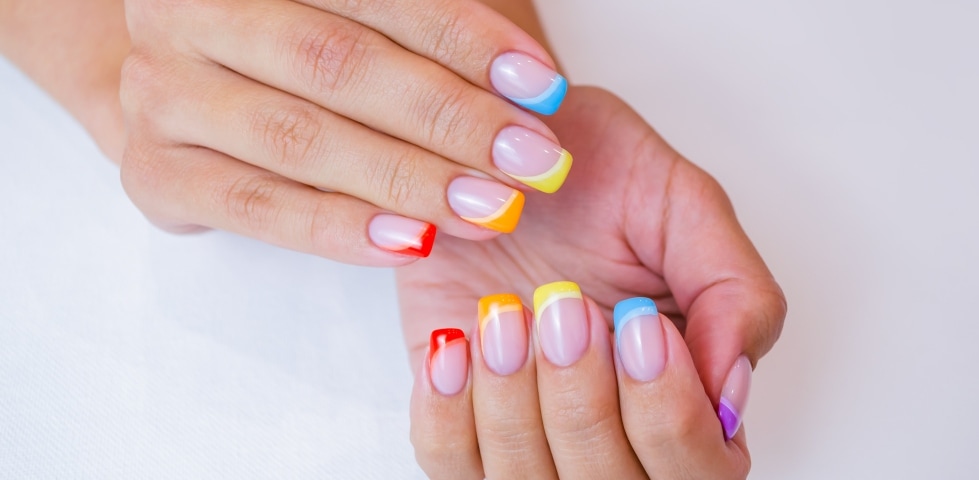
Nail Primer VitaminsRange
Liability and preparationProduct sub-line
NailsProduct label
acetone-free, ammonia-free, non-comedogenic, palm oil-free, paraffin-free, phthalate-free, pigment- and dye-free, silicone-free, sulphate-freeProduct type
bottleArea of application
nails
Step by step instructions:
Application:
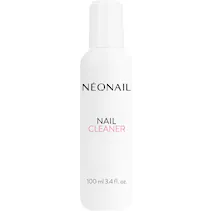
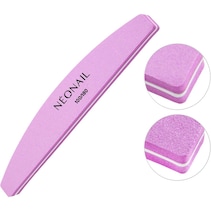
Step 1: Prepare the natural nail by carefully pushing back the cuticle with a rosewood stick. Then carefully matt the natural nail with the polishing file. Remove any nail dust with a cellular tissue soaked in cleaner.
Step 2: Now apply a thin layer of primer.
Step 3: The base is then applied in a thin layer and cured under the LED lamp.
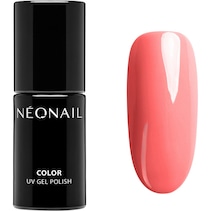
Step 4: A thin layer of the desired colour is then applied and cured under the LED lamp. Then apply a second thin layer of the colour and allow this to cure as well. Please note that darker colours require a longer curing time!
Step 5: Now apply the top coat to seal the coloured lacquer. Allow to cure under the LED lamp, then remove the sweat layer with the cleaner.
Step 6: Finally, a nail oil can be applied for additional care.
Please note: Before use, roll the UV nail polish back and forth between your hands. The tip of the nail must be well coated with all coats.
Removal:
Step 1: Carefully roughen the sealing layer with a nail file.
Step 2: Soak the nail foil wraps in acetone and wrap them tightly around the fingernail. Leave on for approx. 10 minutes.
Step 3: Carefully push the UV nail polish off with a rosewood stick without applying too much pressure. If the polish does not come off the fingernail completely, repeat steps 2 & 3! The application time may vary.
Step 4: Gently remove any residue with a polishing file.
Application:
Step 1: Prepare the natural nail by carefully pushing back the cuticle with a rosewood stick. Then carefully matt the natural nail with the polishing file. Remove any nail dust with a cellular tissue soaked in cleaner.
Step 2: Now apply a thin layer of primer.
Step 3: The base is then applied in a thin layer and cured under the LED lamp.
Step 4: A thin layer of the desired colour is then applied and cured under the LED lamp. Then apply a second thin layer of the colour and allow this to cure as well. Please note that darker colours require a longer curing time!
Step 5: Now apply the top coat to seal the coloured lacquer. Allow to cure under the LED lamp, then remove the sweat layer with the cleaner.
Step 6: Finally, a nail oil can be applied for additional care.
Please note: Before use, roll the UV nail polish back and forth between your hands. The tip of the nail must be well coated with all coats.
Removal:
Step 1: Carefully roughen the sealing layer with a nail file.
Step 2: Soak the nail foil wraps in acetone and wrap them tightly around the fingernail. Leave on for approx. 10 minutes.
Step 3: Carefully push the UV nail polish off with a rosewood stick without applying too much pressure. If the polish does not come off the fingernail completely, repeat steps 2 & 3! The application time may vary.
Step 4: Gently remove any residue with a polishing file.
Ethyl Acetate, Isopropylidenediphenyl Bisoxyhydroxypropyl Methacrylate, HEMA, Aqua, PEG-20 Castor Oil, Propylene Glycol, Alcohol denat, PEG-60 Hydrogenated Castor Oil, Zea Mays Oil, Calcium Pantothenate, Inositol, Retinol, Rosa Moschata Seed Oil, Biotin, Tocopheryl Acetate, Phenoxyethanol, Methylparaben, Butylparaben, Ethylparaben, Propylparaben, P-Hydroxyanisole.
For professional use only. Read instructions for use carefully. Avoid skin contact. Avoid contact with eyes. May cause allergic reactions. Discontinue use if irritation occurs. Keep out of the reach of children.
- Cosmo Group Sp. z o. o.
- ul. Jasielska 10A, PL-60-476 Poznań
- kontakt@neonail.de
Write the first review for Liability and preparation
Our recommendations for you


You might also be interested in