Nail polish for toes: how to get the perfect results
Beautiful feet are not only eye-catching in summer. Coloured toenails add the finishing touch to any outfit and emphasise a well-groomed appearance. While regular visits to the nail salon are convenient, painting your own toenails can not only save money, but can also be a relaxing wellness routine at home. With the right techniques and tools, you can achieve professional results that last up to two weeks and show off your feet to their best advantage.
28 October 2025
Table of contents
Preparing your feet before painting your toenails
Before you reach for the nail polish, it is a good idea to prepare your feet thoroughly. This first step is crucial for the end result and the durability of your polish:
Start with a foot bath
A soothing foot bath is the ideal start to your pedicure. Soak your feet for about 10–15 minutes in warm water, to which you can add nourishing additives such as sea salt, tea tree oil or special foot bath additives. The foot bath not only softens calluses, but also makes your nails more supple for further treatment. After the bath, you can gently remove excess calluses with a pumice stone or callus file.
Trim and care for your nails
After the foot bath, you should shape your nails:
- Trim your nails with a straight cut. This prevents ingrown nails.
- Gently file the edges to prevent tears.
- Carefully push back the cuticles with a rosewood stick. However, do not cut them, as this can lead to inflammation.
- For best results, rinse your nails briefly after filing and dry them thoroughly to remove dust and moisture.
Tip
It is best to use a glass file, as it is much gentler on the nail than conventional metal files. The latter can cause small cracks due to their coarse structure, which can lead to the nails splitting. Glass files, on the other hand, ensure smooth edges and gentle, precise shaping.
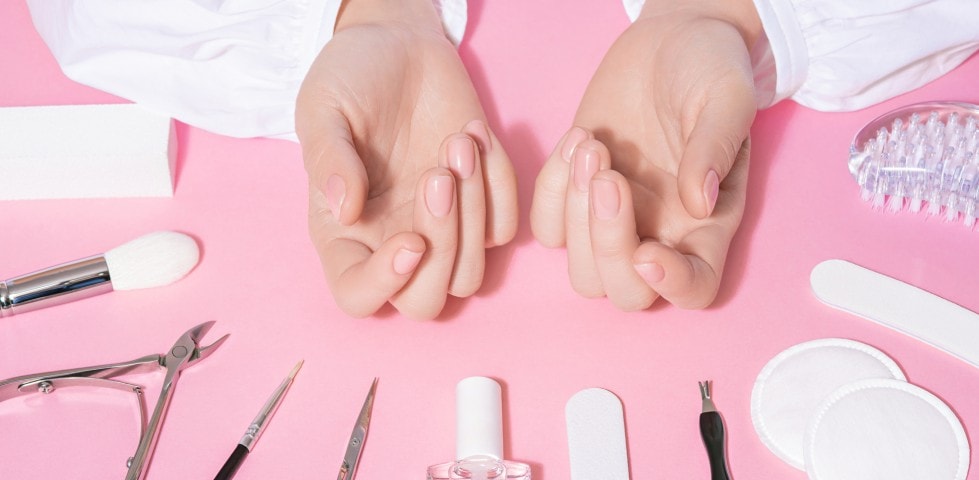
Nail polish for toes: tools and materials
The right tools are the key to achieving salon-quality results. With the right utensils, you can paint your toenails effortlessly and professionally. Here is an overview of the most important tools you will need:
- Nail polish remover: Acetone-free varieties are best, as they dry out the nails less.
- Cotton pads: For removing old polish and degreasing the nail surface.
- Glass file: For gentle shaping of the nails
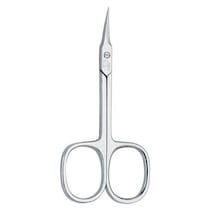
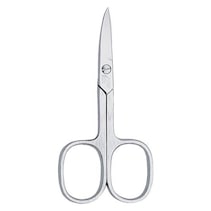
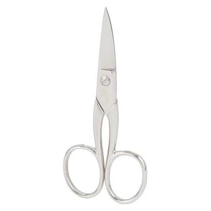
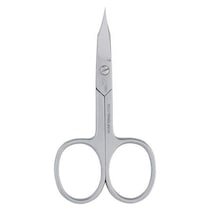
- Nail scissors: With straight blades for a clean cut
- Rosewood sticks: For gently removing cuticles
- Toe separators: To prevent smudging between the toes
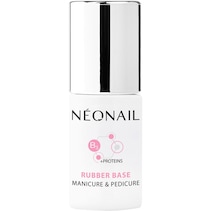
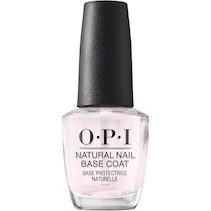
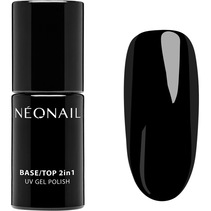
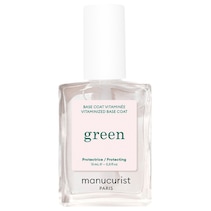
- Base coat: As a base coat to protect against discolouration
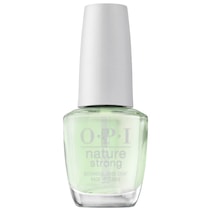
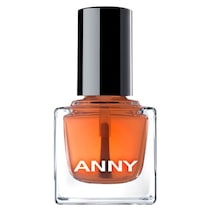
- Coloured nail polish: In your desired colour
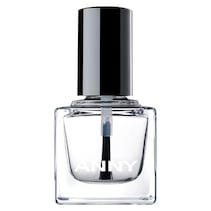
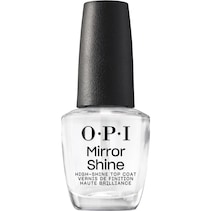
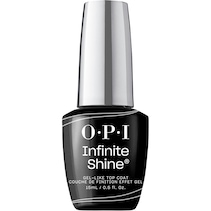
- Top coat: Seals the coloured nail polish and ensures shine and durability
- Cotton buds or correction pen: For precise correction of mistakes
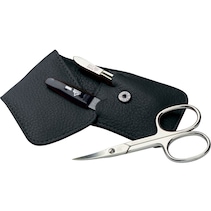
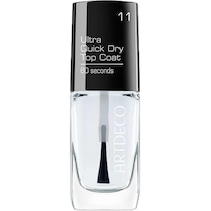
Nail scissors
Nail scissors

Important
Toe separators are one of the most important tools when painting your toenails. They gently hold your toes apart, allowing you to apply the polish cleanly and evenly – without smudging or painting over the edges.
Step-by-step guide: how to paint your toenails
Now it’s time to actually paint your toenails. With these detailed instructions, you can easily paint your toenails.
1. Preparation
- First, remove any traces of old nail polish with an acetone-free nail polish remover.
- Then thoroughly degrease your nails. You can either use a special nail primer or simply some nail polish remover.
- Insert the toe separators to prevent smudging between your toes later on.
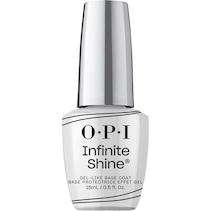
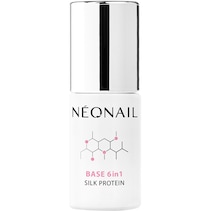
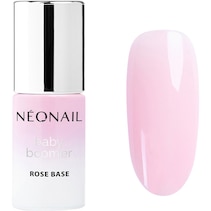
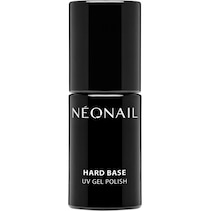
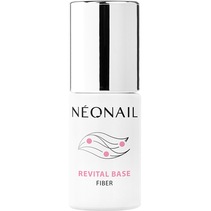
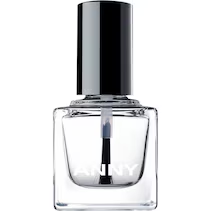
2. Applying the base coat
The base coat is the foundation for a long-lasting manicure. Apply a thin, even layer to each nail. Start in the middle of the nail and then pull the brush out to the sides. Allow the base coat to dry completely.
The base coat not only protects against discolouration, but also ensures better adhesion of the coloured polish and evens out small unevenness on the nail surface.
Base coat
Base coat

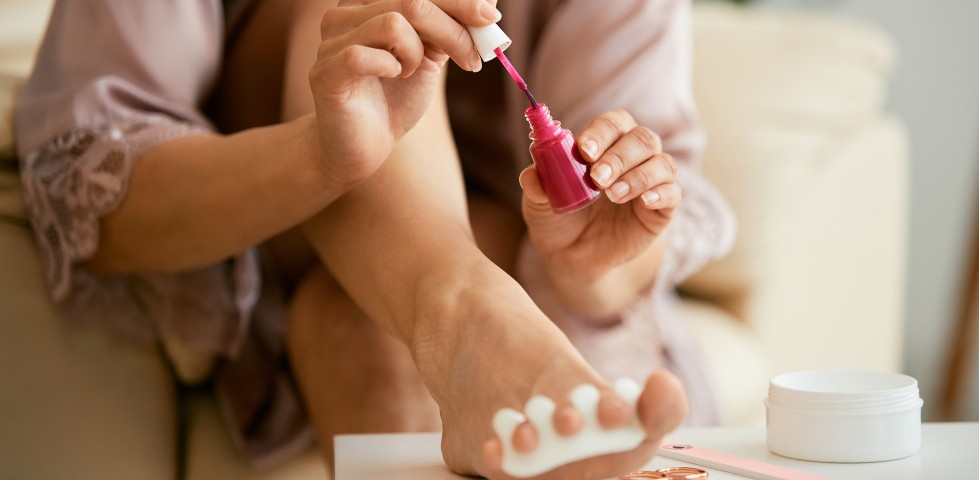
3. Applying the colour
Now comes the creative part:
- Dip the brush into the polish so that about a third of it is wet. Too much polish will result in uneven, thick layers. Wipe off any excess polish on the edge of the bottle. This prevents drips and ensures controlled application.
- Place the brush at the base of the nail and draw it forward in one smooth motion. For even coverage, three strokes are ideal: one in the middle, then one on the left and one on the right.
- Allow the first coat to dry completely. Depending on the product, this often takes 3–5 minutes.
- Apply a second, thin coat and allow it to dry completely as well.
- Depending on the desired intensity and coverage of the polish, you can also apply a third coat. Don’t forget, Several thin coats give a better result than one thick coat and also dry faster.
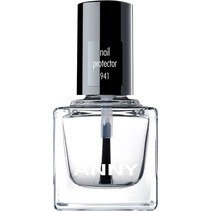
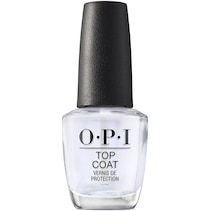
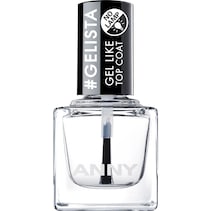
4. Top coat
The top coat is the finishing touch and is crucial for the durability of your polish. Apply it in a thin layer to seal the coloured polish. Run the brush over the front edge of the nail to provide additional protection and allow the top coat to dry for at least 10–15 minutes before putting on socks or shoes.
Top coat
Top coat


Nail polish for toes – tips for perfect results
When painting your toenails, a steady hand and the right technique are essential. A common mistake is accidentally painting over the skin – but this can easily be avoided with a few simple tricks.
For example, it helps to leave a little space between the nail and the cuticle. About one millimetre is enough to achieve clean contours. Simple aids such as toe spreaders also ensure that the toes do not touch each other and that the polish can be applied evenly.
Small mistakes can still happen, however. Fresh polish that has slipped slightly or landed next to the nail can be easily corrected with a cotton bud and some nail polish remover. If you want to be particularly precise, use a correction pen with a fine tip.
Products such as nail stencils or liquid skin protection, which are applied before painting and simply peeled off after drying, provide even greater precision. If you don’t want to wait long, you can also use a quick-dry spray. It speeds up the drying time and protects against dents and scratches.
Tip
Simply let any accidentally applied polish dry on your skin. The next time you shower, you can easily remove it with a flannel, as nail polish adheres much better to nails than to skin.
Painted toenail aftercare
To ensure that your nail polish looks perfect not only when you apply it, but also days later, it is worth taking care after painting your nails. This not only protects the polish from chipping, but also contributes to the health and beauty of your feet.
- Daily care is essential: Use a moisturising foot cream regularly to keep the skin supple and prevent dryness or cracks. Be sure to avoid the painted nails, as oils and fats can affect the durability of the polish.
- Don’t forget your cuticles: Cuticles are often overlooked, but they play an important role in maintaining a well-groomed appearance. Apply a nourishing nail oil daily to keep them soft and prevent cracks or inflammation.
- Intensive overnight treatment: For particularly stressed feet, apply a rich foot mask or a thick layer of foot cream before going to bed. Put on cotton socks – this allows the treatment to work deeply overnight without leaving any traces.
- Refresh the top coat: To keep your nail polish shiny and prevent it from chipping too quickly, we recommend applying a fresh coat of top coat every two to three days. This not only seals the colour, but also protects against scratches and wear.
FAQ: Nail polish for toes
Takeaway
Painting your own toenails doesn’t have to be rocket science. With the right preparation, the right tools and a little practice, you can achieve results at home that are just as good as those from a nail salon. The key to success lies above all in patience, both during preparation and when painting the nails themselves, as well as during the subsequent drying time. Tools that make it much easier to paint your toenails without painting over them are particularly useful, as are helpful tips on how to skilfully correct small mistakes.